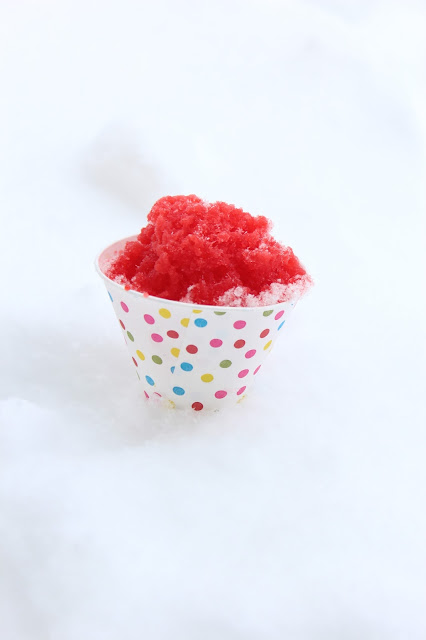
Are you interested in making these yummy snow-snow cones? FIRST, here's the items you will need:
1. Cute paper cups, snow cone papers, or bowls! Of course regular bowls will work, but it's SNOW much more fun to eat them the way a TRUE snow cone is typically eaten. I found our wrappers at Michael's Craft where the cake boss stuff is...fairly hidden.

3. Sugar - 1 pounds per 6 packets.


4. Water
5. Squeeze Bottles - Mine came from Michaels.

6. SNOW!

7. Willing Hands to Work!


8. Willing Mouths to Eat!


Let the syrup COOL! How perfect is it that I could let the syrup COOL outside, in the snow?!?!


Attach the fruit pictures/labels so the kids do NOT have to ask, "What flavor is this again?"

Fill up the cute snow cone cups with SNOW! Our snow is NOT hard packable snow yet. It's still soft and fluffy. I think hard packed snow would make for a more photogenic snow cone. Haha.


Tell the kids it's TIME to dig in and Walaa!

We were able to fill the squeeze bottles to the way top and we have enough left over to freeze for next Winter. It stores well up to one year.

Jax chose green and blue first!

Lilah chose purple and blue.


Ty actually thought the snow cones were a tad sweet and HE NEVER complains about anything being too sweet. Jax and Lilah, on the other hand, are on #2 and #3. LOL! I think it's time to test out snow cream now! I've never made it before, but I have a good recipe from one of Darren's steel brokers. I am not eating sweets, so sadly, I am not partaking in any of these SNOW fun desserts.


No comments:
Post a Comment
I welcome and enjoy all comments by those who read my blog!! So please dont just withdraw...
Deposit a little something too :)