As the mommy in charge of the Kindergarten parties for "Class Dixon", I had the responsibility of picking both a party theme, party game, and a party craft for 21 adorable kindergartners. I knew I wanted the craft to be a unique keepsake. I titled the theme of the Kindergartners' party "Winter Wonderland" and I based the entire party off of OLAF!!! Who doesn't love sweet Olaf?? The day of the party, the entire school watched Frozen. Ahhhhhh.... couldn't have planned that one any better. When I arrived into the classroom, I asked the kids several questions about Olaf. They all answered in unison. So sweet! My last question was, "What would happen to Olaf if he went in the sun?" They all exclaimed, "HE WOULD MELT!!!!!!!!!!!!" I respond with a, "Yes, that's right. He would melt. So we are going to pretend he melted and make a melted snowman ornament!!!" The students squealed.
I ventured out for several hours and visited multiple craft stores to collect the items I wanted to use. Here are the items you need to complete this adorable keepsake ornament:
First, the ORNAMENT. I purchased these ornaments at AC Moore. They were $1.00 per ornament. It didn't hurt to ask, so I asked management if they would honor the teacher discount for me, being I was the classroom mom, and they did! So I got all 21 ornaments for $17.85 plus tax. The ornaments are PLASTIC and very durable.
Powdered Snow: I purchased this powdered snow for the kids to use, but I don't really recommend it. It's really powdery and messy to use. I did a MOCK ornament and just used coarse Sea Salt and I LOVED the way the look of that ornament turned out, not to mention it was clean!
Sculpey clay OR carrot noses! If I am not mistaken, this clay is $2.99 per pack. You only need ONE pack.
I pinched off (21) small 1/4" pieces of clay, rolled them to make them look like a carrot noses. Then, I used a knife to make the small indentions that Olaf's nose has.
Bake Sculpey clay, once formed, on 275 degrees for about 25 minutes.
"With a broom stick in his hand!" This was my greatest score. I was NOT ONLY in amazement that I found miniature brooms, but I am also thrilled they fit into the ornament.
Snowman hats - I was only able to find hard miniature top hats on line and there was NO guarantee that they would fit into the top of the ornaments' openings, so I chose to buy this "snowman ornament" kit. I used a 40% off coupon and was able to purchase this kit for approximately $2.99. NOT BAD!!! I snagged the foam hats out of the kit.
If you are interested in what I was left with, after using the hats, see the back of the box for it's full contents. My twins used the leftover parts yesterday to make snowman ornaments. Since the hats were missing, we just made hats out of construction paper.
And then I added these adorable Jolee's Boutique Holly Stickers to the foam hats to make him/her look much more festive.
Black miniature POM POMS or buttons. These were used to replicate the buttons on a snowman's middle snowball. LOL!
"Spare" Eyes" - No snowman is complete without eyes! Right?
Every snowman needs a scarf!! I purchased several different colored flannel fabric from JoAnn's Fabric. I got the SMALLEST amount of fabric that JoAnn's will allow you to buy. I think each strip of flannel cost me $1.99. I cut enough scarfs out of each piece. I have PLENTY of fabric left over. I could have just used the ONE piece of flannel, but I thought the kids might enjoy the craft more if they could fashion his/her snowman with their preference if flannel pattern.
This twine was in the wreath section of AC Moore. It was $1.99 and I had SO MUCH left over. All I did was just cut enough of this twine to make 42 arms.
Here's the snowman, all put together, WITH the foam snowman piece from the box set above. From top to bottom...
Top Hat with Holly Embellishment
Googlie Eyes
Clay Carrot Nose
Flannel Scarf
Stick Arms
Pom Pom Buttons
Broom Stick
And here is the snowman minus the foam snowman piece.
Just add snow and walaa!!! He looks all melted.
Upon arriving to class, after my conversation with the kids, I handed each child a plastic ornament.
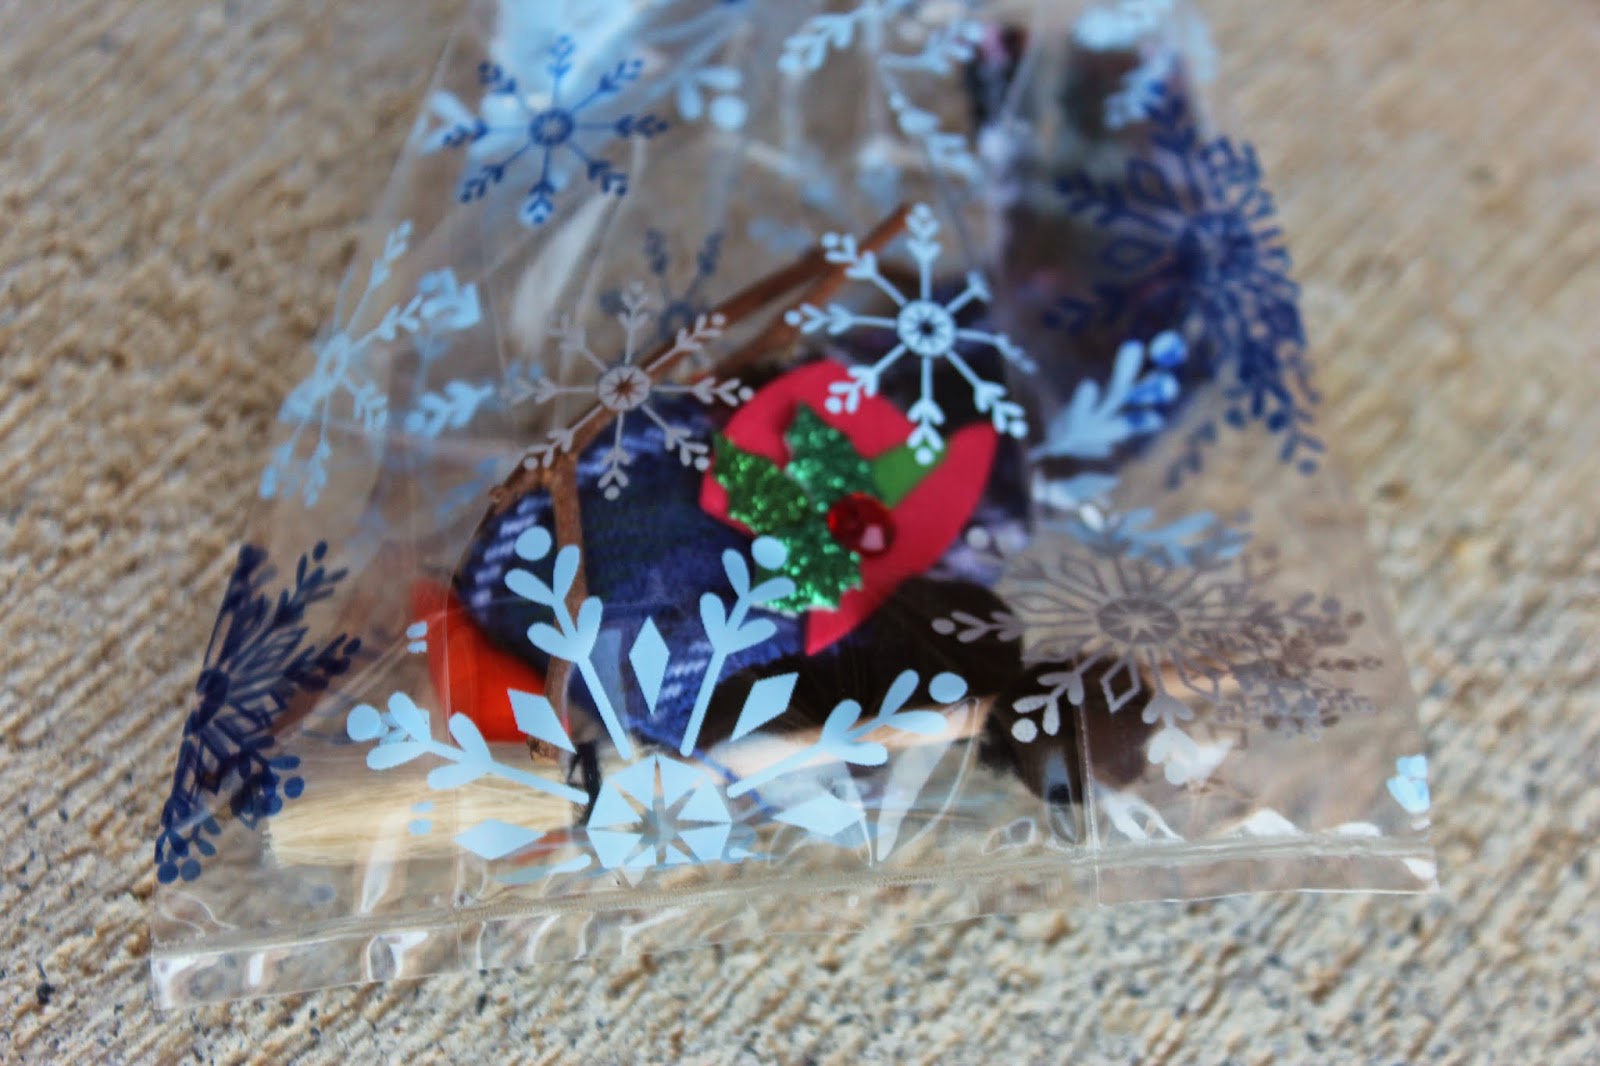
A baggie of snowman "parts"
In a decorative snowflake bag of course.
And finally, I just told the kids to get to work filling up their ornament with the goodies in the bag. Each child got to bring home an ornament, looking similar to the one I made at home (below), before the party!I LOVE the way it all turned out. Snowmen are my ABSOLUTE FAVORITE!!!! You should give it a try. Let me see how yours turned out!!! This would make a darling gift for a teacher, mailman, grandparent, and even for an ornament party!!!! Each ornament costs approximately $1.65.


No comments:
Post a Comment
I welcome and enjoy all comments by those who read my blog!! So please dont just withdraw...
Deposit a little something too :)